
316-Let it snow – english – Inge-Lore’s Tutoriale
Let is snow
Inge-Lore 08.07.2022
This tutorial was created entirely from my imagination,
Any resemblance to other tutorials is purely coincidental and not intentional.
The copyright is solely mine, Inge-Lore.
It is not allowed to copy my tutorial and offer it on other sites for download.
I have my material from various tube groups.
The copyright of the material lies solely with the respective artist.
If I have violated a copyright, please send me an email.
I thank all Tubers for the beautiful material,
without which such beautiful pictures would not exist.
I made the tutorial with PSP 2020,
but it should also be possible to be made with all other variants of PSP as well.
**************************************
Plugins
Alien Skin Eye Candy 5 Impact – Glass
Filters Unlimited–Buttons & Frames–Glass Frame 2
**************************************
Material or HERE
you still need
Background Image
Deco Tube
Person Tube
mine is from Gerda and it was available as a freebie in 2015 HERE
***************************************
Foreword !!
If something is reduced in size, then always make sure the checkmark
for *All layers adjusted* isn’t placed, otherwise I’ll mention,
if everything needs to be adjusted in size.
****************************************
Point 1
Double click on the preset, it will install itself.
Pick a light and dark color from your tubes.
Open one of the globes – go or stay on the top level
Select all – floating – not floating
new level
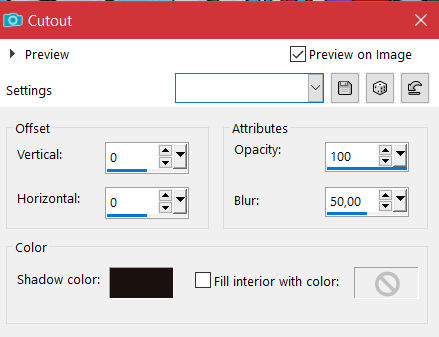
Effects–3D Effects–-Cutout
Point 2
Plugins–Alien Skin Eye Candy 5 Impact – Glass
Preset *glass_©ILR*
Selection none
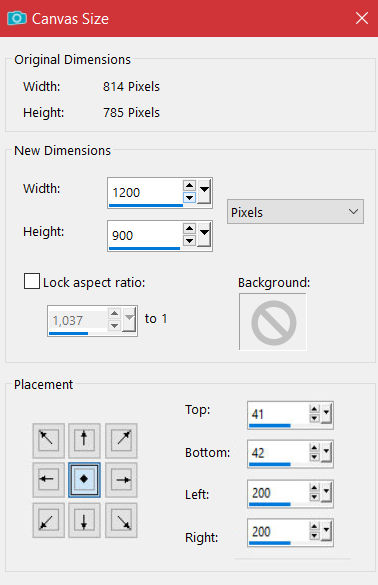
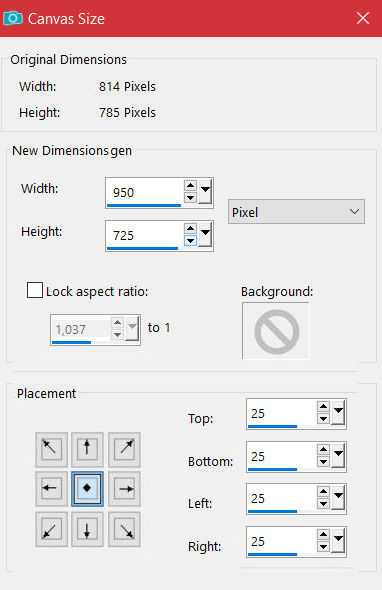
Image–canvas size (no matter what the initial size is)
 go to the bottom level-new level
slide down–fill with the dark color
Point 3
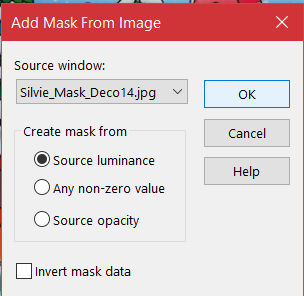
Layers – mask layer from image *Silvie_Mask_Deco14*
 Edge Effects–Enhance
Merge–Merge Group
Blend Mode Soft Light
Point 4
New layer – select all
copy–paste your background tube into the selection
Deselect – move them to one side
duplicate–Image–Mirror horizontal-go to the top layer
copy-paste the Christmas tree onto your picture
slide left or right
Drop Shadow 0/0/100/50
Point 5
Duplicate – flip horizontal
copy-paste your person tube/s onto your image
resize–sharpen
Repeat Drop Shadow
copy *6-5*-paste to your picture
reduce to 55% – sharpen
slide down to the left
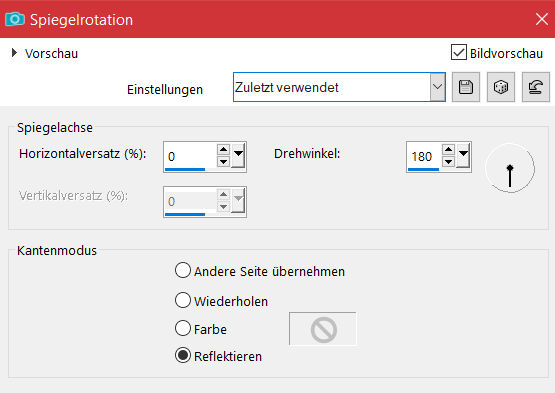
Reflection Effects – Rotating Mirror
 Drop Shadow repeat
Point 6
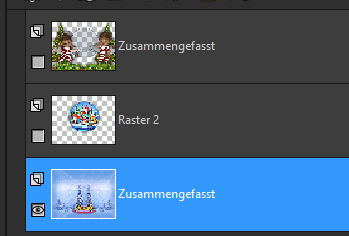
Go to Raster 2 – copy
paste as a new image – we’ll continue to work on that now
Select all – floating – not floating
new layer-rename to *1*
open the snow tube *kipp*–copy *1*
back to your image-paste into selection
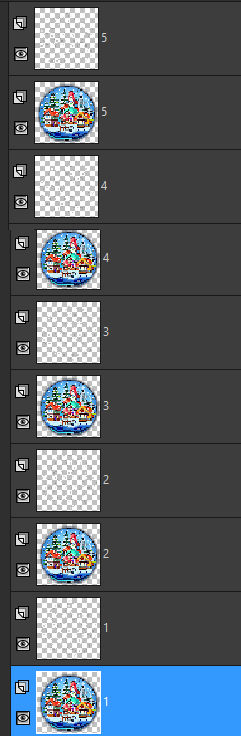
**new layer-rename to *2*-copy *2* of the snow file
paste on your picture in the selection**
repeat from ** to ** also with *3*-*4* and *5*
Deselect
 Now combine the snow level downwards with the circle level
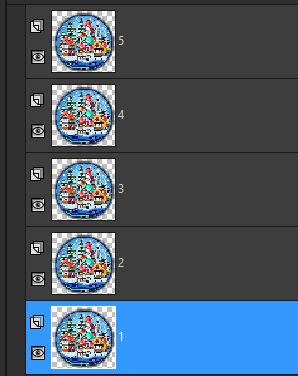 reduce to 75% – check below and save as *animation*
Point 7
Go back to Raster 2 on your picture
Repeat Drop Shadow and also cast the shadow on Raster 1
make the lowest layers invisible up to and including Raster 2
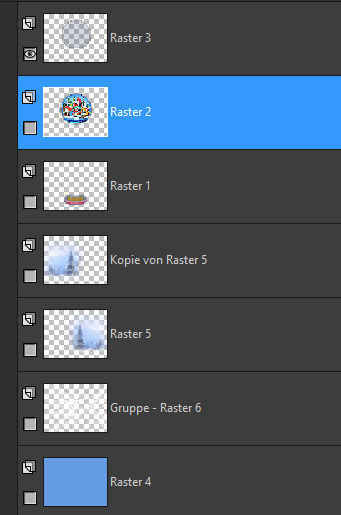 go to top level–merge visibly
make invisible-–make the bottom layers without Raster 2 visible
 go to the lowest level – merge visibly
Point 8
Now make all layers visible
Resize your image to 75% – tick all layers below
Image–canvas size
 New layer – arrange at the bottom
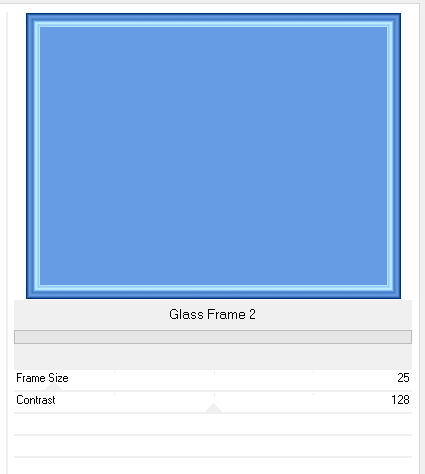
Filters Unlimited – Buttons & Frames – Glass Frame 2
 go one level up–merge down
go to the top level–new level
Select all – contract 25 px
Effects–3D Effects–Cutout
 Selection none–merge down
put your WZ and the copyright on the picture
merge down
Point 9 Animation
Copy the bottom layer – open your animation shop
paste as new animation-duplicate it to 5 frames
slide the slider to the left
back to PSP – copy top level
insert in Anishop as new animation
duplicate them to 5 frames too
Point 10
Back to the PSP – copy the middle layer – back to the Anishop
paste as new animation–duplicate to 5 frames
now get your saved *animation* in the Anishop
Edit – select all
the controller is on the left of the file
now grab the circle with the mouse button and drag it
carefully on your picture, exactly on the lower part of the glob

Point 11
Now activate the top layer of your image
Edit – select all
the controller is also on the left
Now drag this picture to your handicraft picture
It is best to orientate yourself on the circle
then watch your animation and save it as a gif.