
Klick HERE 322-Tori – english – Inge-Lore’s Tutoriale
Inge-Lore 06.07.2022
This tutorial was created entirely from my imagination,
Any resemblance to other tutorials is purely coincidental and not intentional.
The copyright is solely mine, Inge-Lore.
It is not allowed to copy my tutorial and offer it on other sites for download.
I have my material from various tube groups.
The copyright of the material lies solely with the respective artist.
If I have violated a copyright, please send me an email.
I thank all Tubers for the beautiful material,
without which such beautiful pictures would not exist.
I made the tutorial with PSP 2020,
but it should also be possible to be made with all other variants of PSP as well.
************************************
Plugins
Mehdi–Sorting Tiles
MuRa’s Meister–Perspective Tiling
[AFS Import]–sqborder 2
Filters Unlimited–Buttons & Frames–3D Glass Frame 1
**********************************
Material or HERE
you still need
wallpaper
one person tube
mine is from Toria and you can get it HERE
********************************
Foreword !!
If something is reduced in size, then always make sure the checkmark
for *All layers adjusted* isn’t placed, otherwise I’ll mention,
if everything needs to be adjusted in size.
**************************************************
Point 1
Drag the selection into the selection folder.
Move *Carres* into the texture folder.
Pick a light and dark color from your tubes.
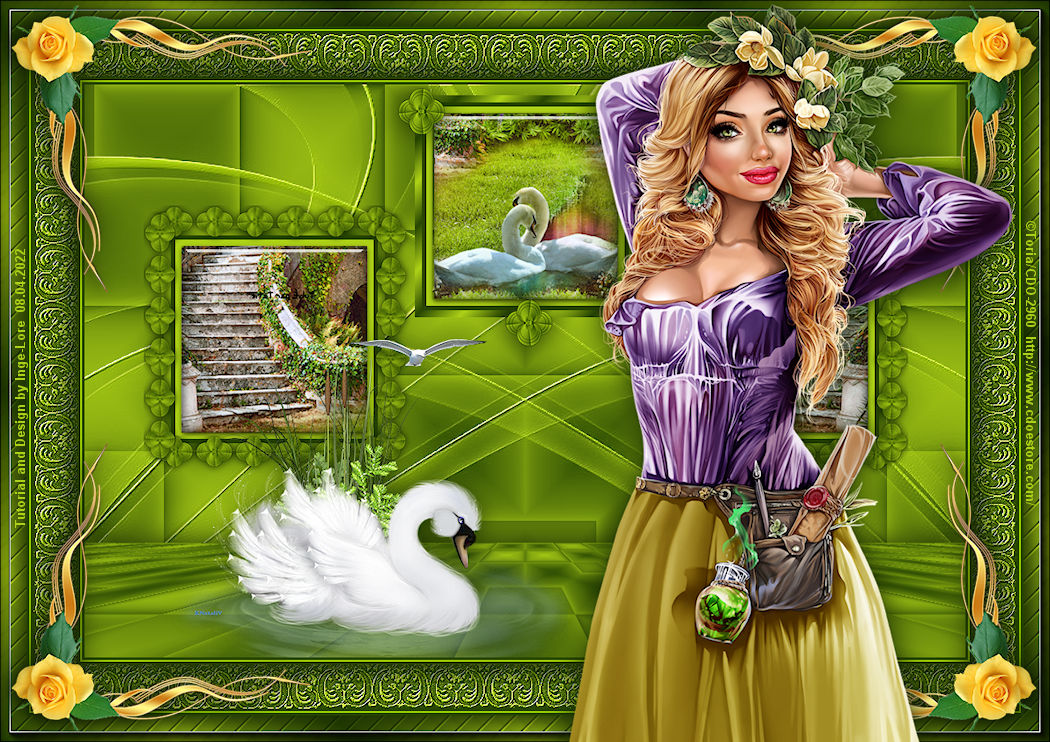
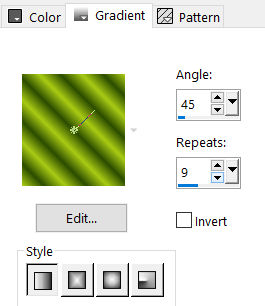
Open a new Image 1000 x 650 px – fill with this gradient.
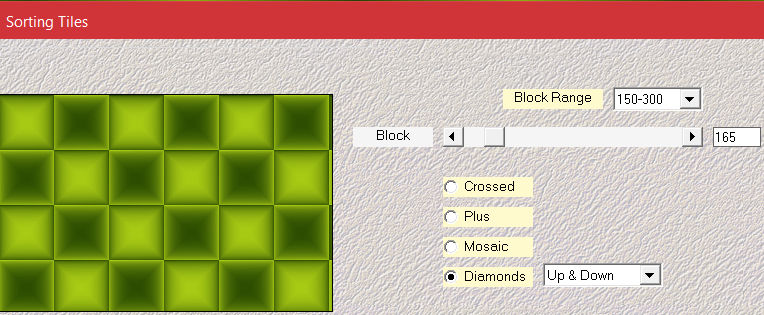
 Plugins–Mehdi–Sorting Tiles
 Reflection Effekt–Rotating Mirror
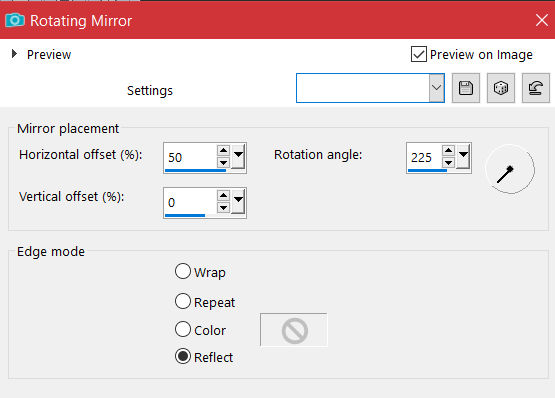 Reflection Effekt–Rotating Mirror Default

Point 2
Custom selection
 new layer – fill with the gradient
selection modify–Contract 8px – fill with dark color
selection modify–Contract 5px – fill with light color
selection modify–Contract 7 px–Delete key
Plugins – Alien Skin Eye Candy 5 Impact – Glass / Clear
Deselect
Point 3
Duplicate Layer
Image–Mirror–Mirror horizontal
duplicate layer
set to X 375 / Y 12 with the K button
 Merge down 2x
copy–paste your background tube into your image
Layer move down and move into frame
Point 4
Selection–Load/Save selection–Load selection from file
Load selection *toria*
Delete–-deselect
Duplicate Layer
Image–Mirror–Mirror horizontal
Duplicate Layer
press K key to set to X 381 / Y 25
Merge down 2x
Point 5
Copy *frame*–paste to your image
set to 67 / 0 with the K button
go to the top level
copy *frame*–paste to your image
set to X 67 / Y 0 with the K button
select Raster 1–duplicate
Point 6
Plugins–MuRa’s Meister–Perspective Tiling
 Drop Shadow 0/0/100/50
go back to Raster 1
new layer–fill with the light color
Layers–mask layer from image *Narah_mask_0419*
 Edge Effect–Enhance
Merge–Merge Group
Punkt 7
Image–Flip–Flip vertikal
duplicate
Image–Mirror–Mirror horizontal
Merge down
Plugins–MuRa’s Seamless–Emboss at Alpha Default
select Raster 4 (Top Layer)
Point 8
Add border–3 px dark color
Add border–2 px light color
Add border–3 px dark color
selection all
Add border–50 px dark color
Invert selection
Point 9
New layer–fill with the light color
Layers–Mask layer from image *lace©ILR*
 Edge Effect–Enhance
Merge–Merge Group
Plugins–MuRa’s Seamless–Emboss at Alpha Default
Selection invert
Drop Shadow 0/0/100/50 2x
Select none
Point 10
Add border–3 px dark color
Add border–2 px light color
Add border–3 px dark color
selection all
Add border–30 px light color
Invert selection–fill with gradient
Point 11
Texture Effect–Texture *Carres*
Plugins–AAA Frames–Foto Frame
Selections–Invert
Drop Shadow 0/0/100/50 2x
Select none
Copy *Decorative Corners (64)*–Paste as new Layer
press Key K–X -12 / Y -8
Point 12
Plugins–Simple–Top Left Mirror
Drop Shadow repeat
copy your people tube–Paste as new Layer
resize—sharpen
Repeat Drop Shadow
Merge all
resize your image to 1050 px wide
put your WZ and the copyright on the picture
Merge and save as jpg.