
Klick HERE 319-Xmas Cocktail – english – Inge-Lore’s Tutoriale
Xmas Cocktail
Inge-Lore 07.07.2022
This tutorial was created entirely from my imagination,
Any resemblance to other tutorials is purely coincidental and not intentional.
The copyright is solely mine, Inge-Lore.
It is not allowed to copy my tutorial and offer it on other sites for download.
I have my material from various tube groups.
The copyright of the material lies solely with the respective artist.
If I have violated a copyright, please send me an email.
I thank all Tubers for the beautiful material,
without which such beautiful pictures would not exist.
I made the tutorial with PSP 2020,
but it should also be possible to be made with all other variants of PSP as well.
**************************************
Plugins
AAA Frames–Foto Frame
**************************************
Material
you still need
background tube
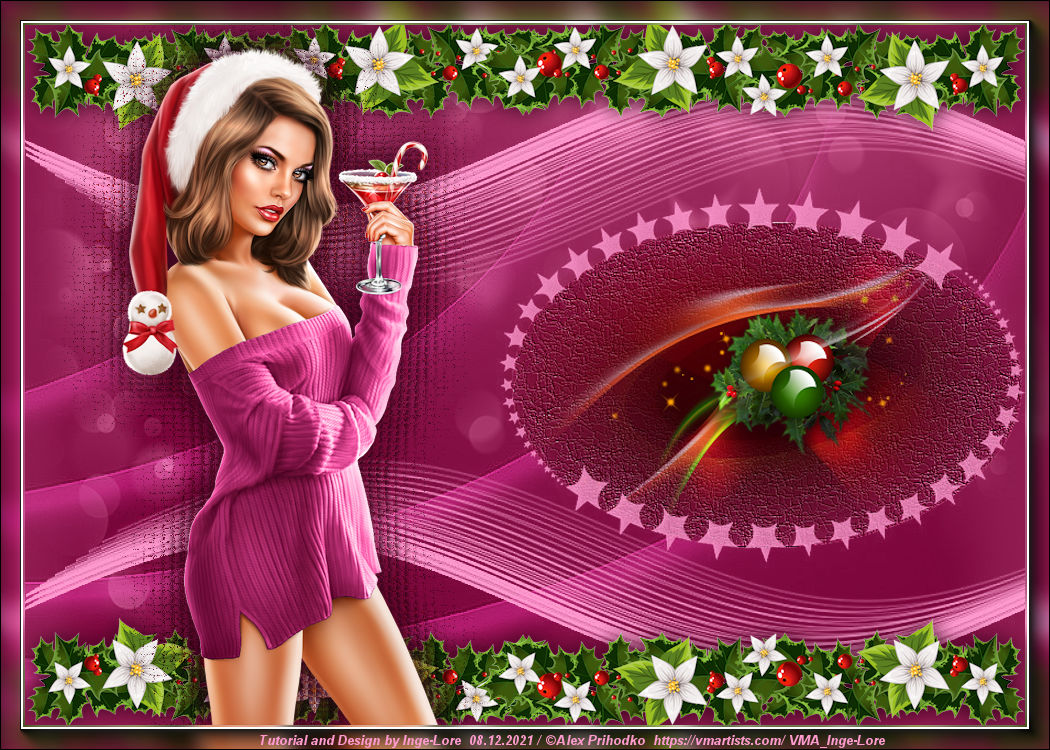
Person tube
mine is from Alex Prihodko and you can get it HERE
***************************************
Foreword !!
If something is reduced in size, then always make sure the checkmark
for *All layers adjusted* isn’t placed, otherwise I’ll mention,
if everything needs to be adjusted in size.
****************************************
Point 1
Pick a light and dark color from your tubes.
Open the alpha file and minimize it.
Open a new sheet 1000 x 700 px – fill with the dark color
new layer – fill with the light color
Layers – mask layer from image *bice_sternring6*
 Edge Effects–Enhance
Merge–Merge Group
Image–Rezize–55%
Activate selection tool (Press K on your keyboard)
And enter the following parameters X 470 / Y 159

Point 2
New layer – fill with the light color
Layers – mask layer from image *Narah_Mask_1356*
 Edge Effects–Enhance
Merge–Merge Group
Point 3
Selection–Load/Save Selection–Load selection from alpha channel
Choice *choice #2* loaded
new layer – slide down – fill with the dark color
Texture Effects – Fine Leather
 Sharpness–sharpen more
new layer–copy your background tube
insert into selection–-deselect
Point 4
Go to Raster 1–new layer–select all
copy *Christmas_BG1_07.10.2015.*
insert into selection–-deselect
Blend Mode Luminance (V) – Opacity 50%
new layer – fill with the light color
Layers – mask layer from image *Narah_Mask_1237*

Point 5
Edge Effects–Enhance
Merge–Merge Group
Blend Mode Hard Light–Opicity 80%
select Top Layer (Group – Raster 2)
copy *6-8*-paste as new Layer
Image–Resize 55%
Objects–Align–Top
Objects–Align–Left
duplicate
Point 6
Image–Mirror–Mirror horizontal
Merge–merge down–duplicate
Image–Mirror–Mirror vertical
merge down
Drop Shadow 0/0/100/50
Point 7
Copy and paste your people tube onto your image
resize-sharpen
Drop Shadow 0/0/100/50
Duplicate layer – go to the original
Texture Effects – Glass Mosaic
 Blend Mode Multiply
Point 8
Merge–Merge Visible–copy
Image–Canvas Size
 click in the transparent border with the magic wand
new layer–paste into selection
Adjust-Blur-Gaussian Blur with 10
Duplicate Layer – Merge Down
Plugins–-AAA Frames–-Foto Frame
 Selection none
put your WZ and the copyright on the picture
merge all and save as jpg.